Exhibitor: Duwe-3D
Booth: 1502
Unleash the Power of Your 3D Measurements
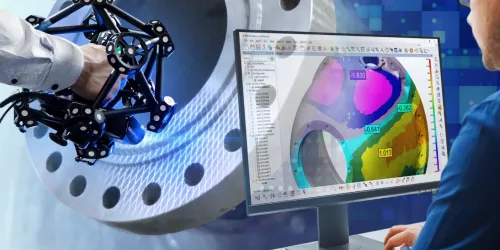
Learn the benefits of retaining your 3D measurement data during this 60-minute virtual and interactive launch event on PolyWorks® 2024. Gain valuable insights into the new features as our experts guide you through enhancements designed to boost your workflow and productivity.
We’ll discuss how the latest innovations in PolyWorks will empower you and your company in building smarter, faster, and easier solutions to transform your hardware and make your 3D measurement data more valuable than ever before.
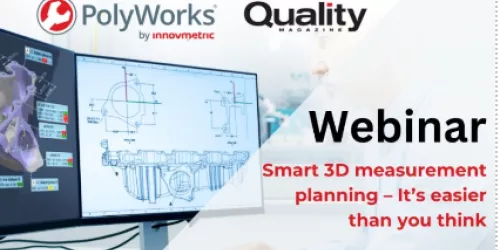
For quality control teams, creating inspection projects from the measurement plan requires time-consuming manual tasks and interpreting dimensional requirements from 2D drawings, 3D CAD models, and additional specifications documents.
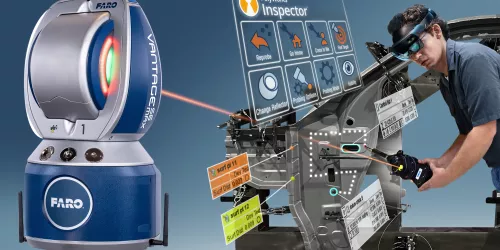
Learn how to successfully build and inspect large-scale precision fixtures and tooling for manufactured parts by combining PolyWorks|Inspector™, the PolyWorks|AR™ mixed reality solution, and the FARO® Vantage Max Laser Tracker.
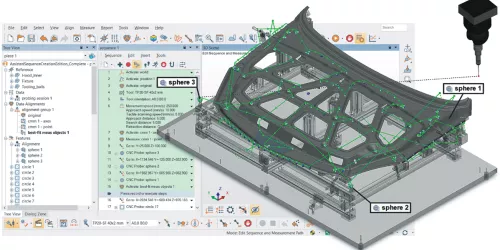
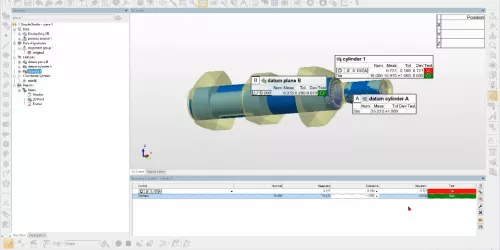
Discover how to create complete CNC CMM measurement sequences in minutes while staying in control with PolyWorks|Inspector™, the universal 3D dimensional analysis and quality control software solution.
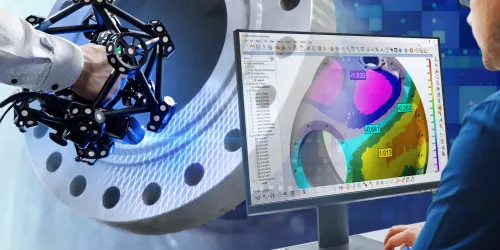
Learn how PolyWorks|Inspector™ and Creaform MetraSCAN 3D can improve your measurement workflow and increase your inspection capacity.
See how improve your inspection workflows with repeatable measurement processes and 3D data capture optimized for accuracy and speed by combining PolyWorks|Inspector™ and the FARO® Quantum Max ScanArm.
Discover how to efficiently perform a multipiece dimensional analysis on complex geometries using PolyWorks|Inspector™ controlling powerful Hexagon SLS scanners and turntables.
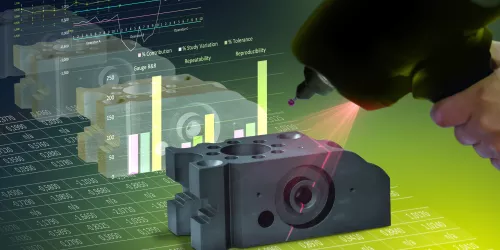
To obtain trustworthy results, a measurement system analysis (MSA) is performed prior to production through repeatability and Gauge R&R studies. InnovMetric proposes an easy-to-use and fully integrated software solution to perform these studies.
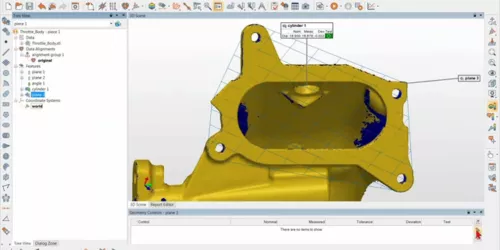
When a part is inspected with the help of its CAD model, the CAD model is used throughout the project to align the part, extract features, and produce pass/fail results. When inspecting a part by scanning without using a CAD model, you go through those same steps obtaining measured-to-nominal deviations but using a different toolset.
Inspecting a part in PolyWorks|Inspector™ with the support of a CAD model is not always an option. While using CAD models is a very efficient way of getting the nominal geometry required for performing an alignment, obtaining measurement deviations, and driving measurement guidance, when they are not available you can perform part inspection just as well.
With PolyWorks|Modeler™ Light, quickly clean up surfaces, optimize the size of a model while preserving its topology and dimensional accuracy, and rapidly calculate volume and surface area.
