New Delhi, India
July 26, 2024 - July 29, 2024
Chicago, United States
September 9, 2024 - September 14, 2024
Brno, Czech Republic
October 8, 2024 - October 11, 2024
Istanbul, Türkiye
October 9, 2024 - October 12, 2024
León, Mexico
October 9, 2024 - October 11, 2024
Milan, Italy
October 9, 2024 - October 12, 2024
Jönköping, Sweden
November 12, 2024 - November 14, 2024
Grenoble, France
November 19, 2024 - November 21, 2024
Bangkok, Thailand
November 20, 2024 - November 23, 2024
Jakarta, Indonesia
December 4, 2024 - December 7, 2024
Bengaluru, India
January 23, 2025 - January 29, 2025
Recorded webinar
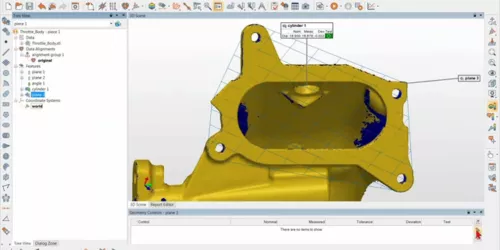
When a part is inspected with the help of its CAD model, the CAD model is used throughout the project to align the part, extract features, and produce pass/fail results. When inspecting a part by scanning without using a CAD model, you go through those same steps obtaining measured-to-nominal deviations but using a different toolset.


